Toyota Belt Tensioning Tool: Made in the Wrenchtech Garage

June 17, 2018 - by Matty D

If there is anything that I like better than using tools, it is making tools. Even the simplest tool, thrown together in a few minutes, gives me great satisfaction. I felt that satisfaction again today as I used my homemade belt tensioning tool to help me solve a squealing belt problem that had developed on my 1989 4runner. Many times in the past I resorted to wedging a prybar between the engine block or the timing cover and the alternator to try to lever it over to get tension on the belt. Working on my first generation 4runner I just couldn’t find away to make those crude methods work, and so I constructed a tool.

It’s about a simple as things get. I went to the local hardware store and bought a 10 inch turnbuckle. Most hardware stores have them. They consist of a threaded collar that forms the body of the turnbuckle and a pair of screw eyes, one at each end. One of the screw ends has a reverse thread. This allows the turnbuckle to become longer or shorter when the body is rotated. If both had a conventional thread the collar would simply move along the threads without changing the length of the turnbuckle. By having two different threads, turning the collar causes each threaded eye to move out of the collar or go deeper into into it depending on which way the body is being turned. 


This
Into This

I cut the eyes off the turnbuckle ends and welded some curved sections of steel that I cut out of a junk coil spring that I had. The shorter section goes up against the alternator pulley and a larger section pushes against the crankshaft pulley. Once the tensioner tool is in place I simply turn the collar by hand, causing it to spread out and push the alternator away from the crankshaft. The collar has a hexagonal shape with flat surfaces to grab with a wrench, but I have never had to use a wrench. I’ve always been able to get sufficient tension on the belt just by turning the turnbuckle sleeve by hand. To finish up I just tighten the alternator bolts before releasing the tension tool. 

My custom-made tool works like a dream. It goes into place easily, fits snugly and only takes a few seconds to set the tension. I have a long list of tools still to be made, so please sign up so that I can send you an email when the next project starts.

I Feel a Sandblaster Project Coming On

March 24, 2018 - by Matty D

March 24, 2018 - by Matty D

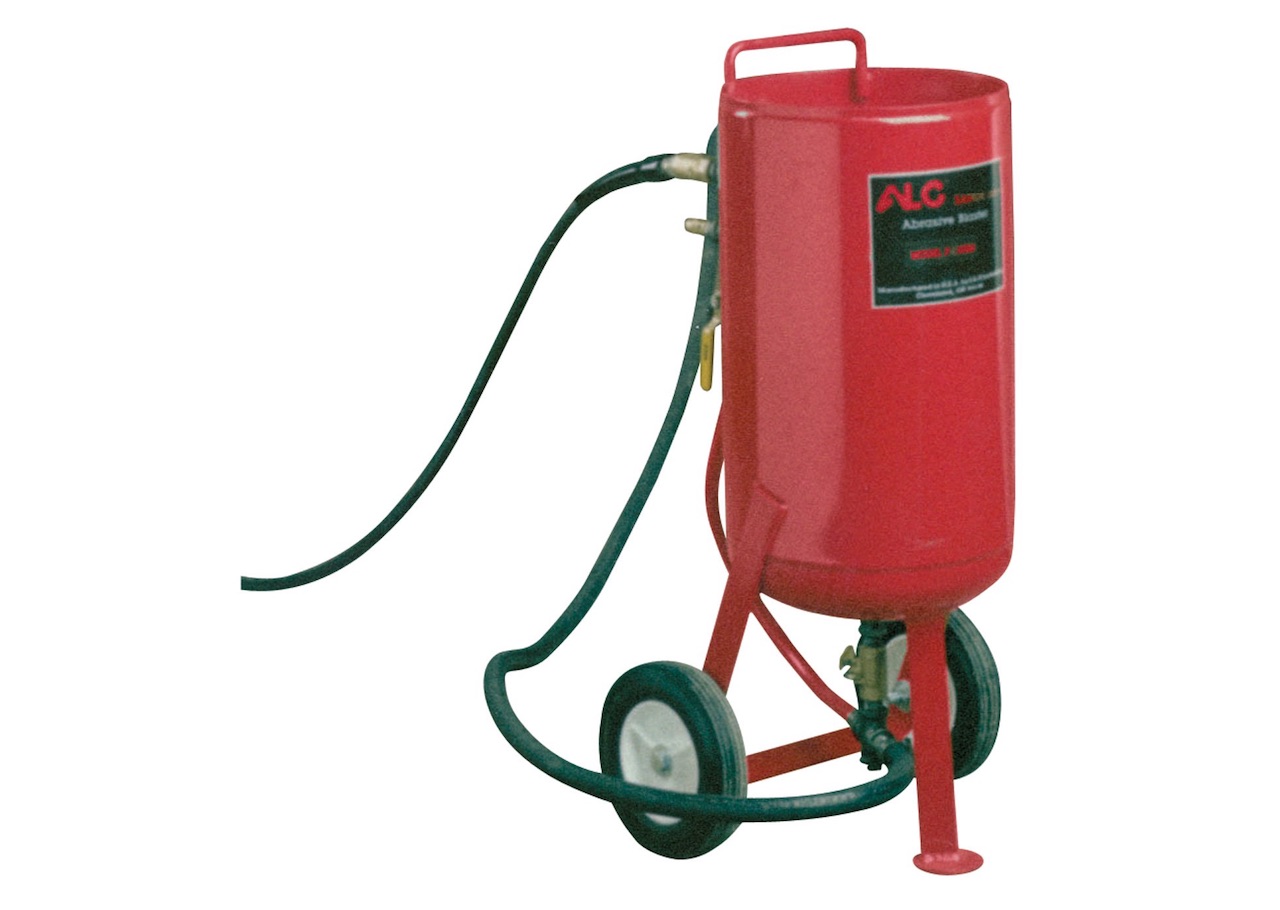
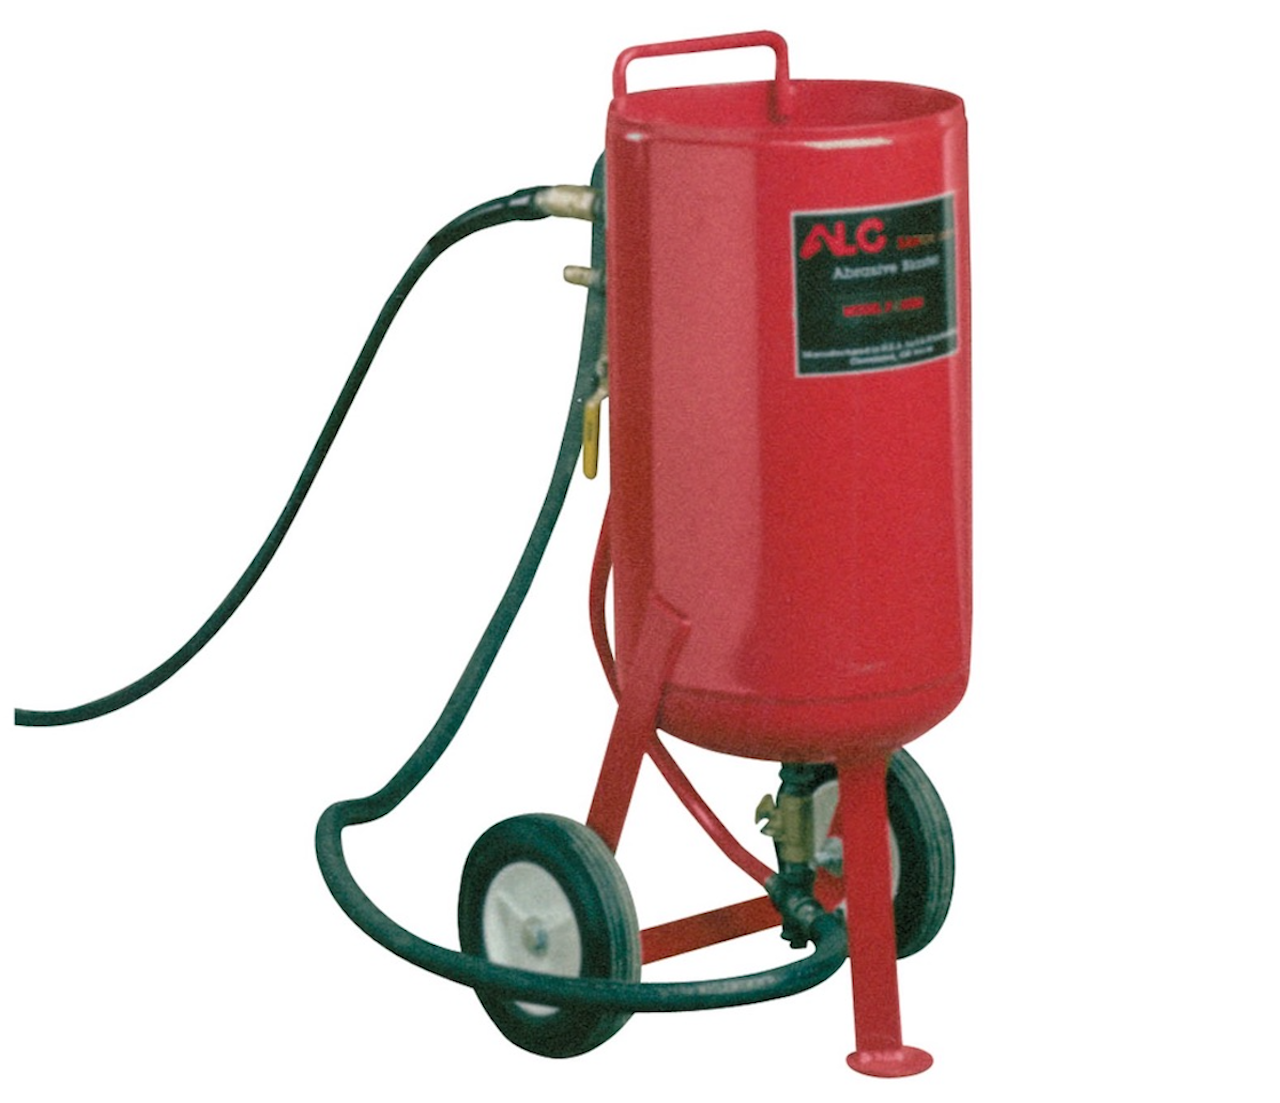
Pictured above is an abrasive blaster that sells for about $600 at Northern Tool (and about a million other places). I have a 40 pound propane tank and a set of wheels that would give me a good head start on the materials that I need to make my own version. Some parts that I would need to buy would include a deadman valve/blast gun/nozzle holder, some blast hose, assorted pipe fittings and valves, a water separator, and a pressure relief valve.

Blast hose is the most expensive item, running about $10 a foot. A deadman style blast gun would run about $55. I figure I might have $250 or $300 into the entire project by the time I’m done. In any case, after calling around to get some prices for sandblasting services, I can see that this thing will pay for itself in no time.